
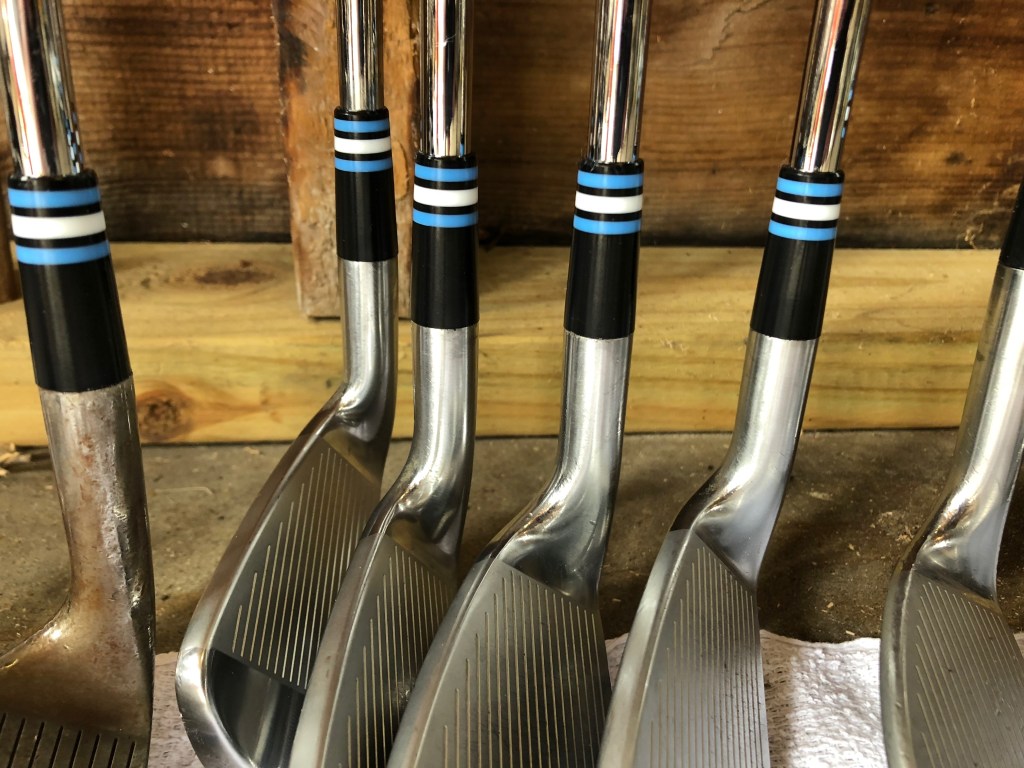
A fun part of golf is all of the style and personal touches that you can add to your bag. In addition to custom fitted clubs tailored to your swing, you can add flair to your set up. You could have a cool bag, a colorful grip, a creative head cover and now with colorful Ferrules .
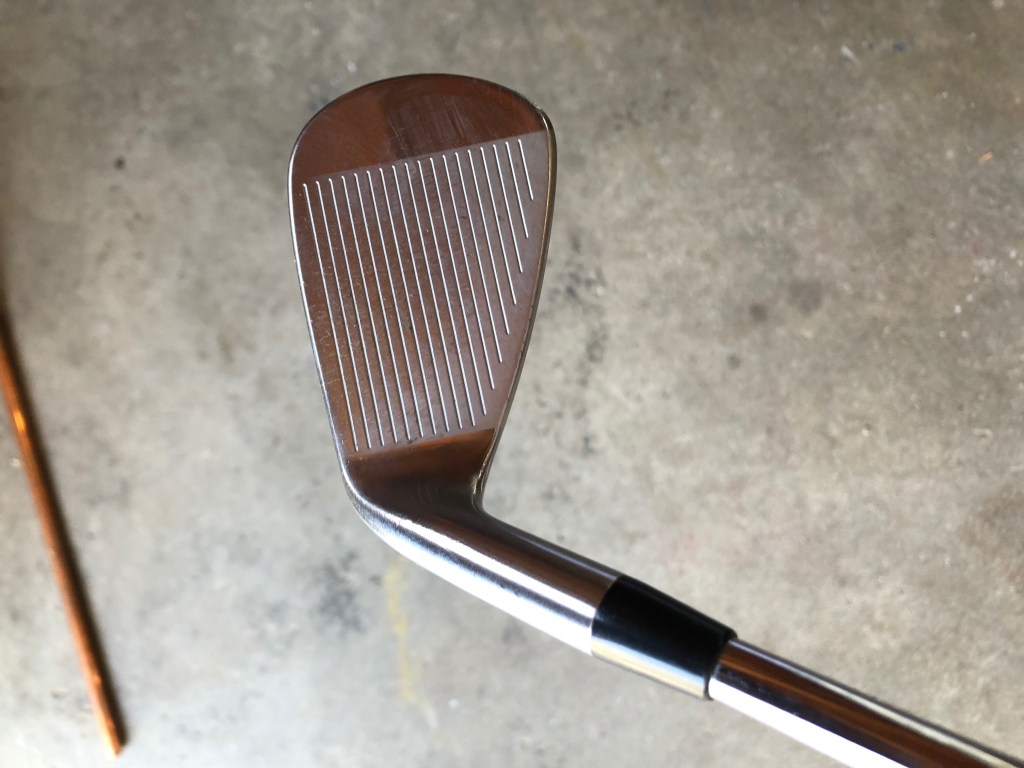
Ferrules are the black piece of plastic that blends the head of the club into the shaft. They come in all shapes and sizes but if you have your standard, manufactures ferrule, they are most likely black. After finding Boyd Blade & Ferrule Co. on instagram (@bbandfco), I was mesmerized by the possibility of how you could personalize your clubs. They offer a variety of colors and designs to add character to any club in your bag. After having my instagram followers pick which ferrule design to buy, I purchased the ferrules and replaced them myself.
In this blog post, I want to go over the procedure that I used to change out my ferrules in hopes to help you guys if you ever want to upgrade your clubs style.
Warning: This is a general How-To blog post, I am not responsible for any injury that you may incur on yourself. Please use proper safety equipment, best practices and common sense to ensure your safety when working in your shop.
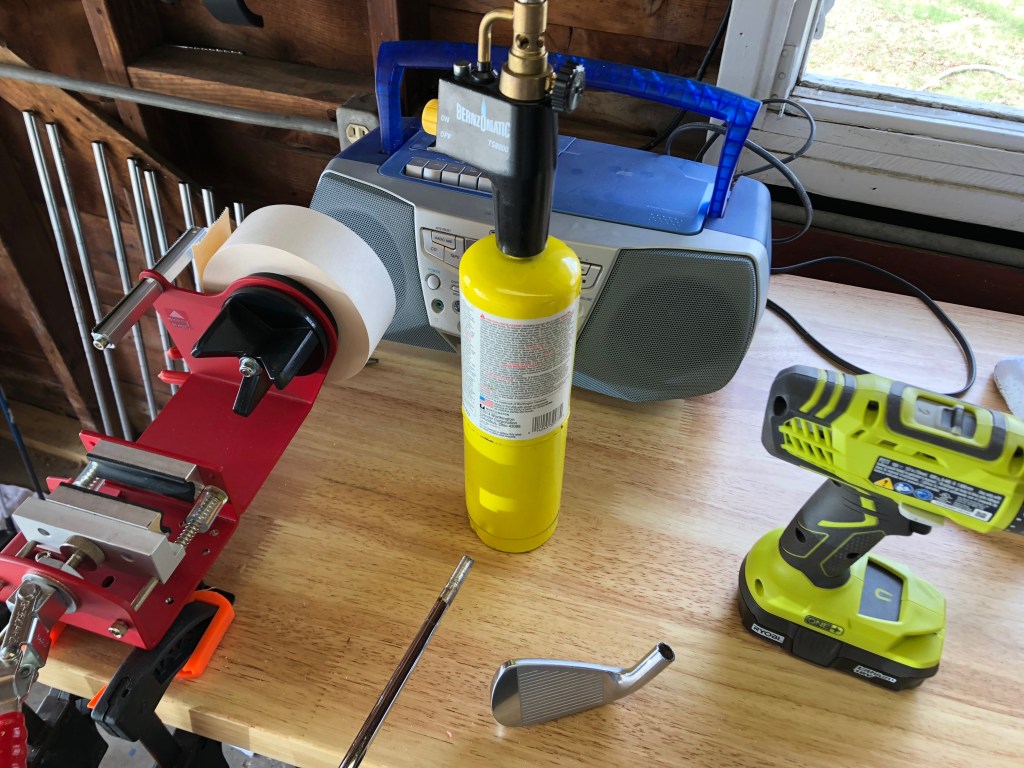
You Will Need:
Ferrules (I highly recommend Boyd Blade & Ferrule Co.)
Epoxy
Tip Weights
Drill and ¼” Drill bit
Blow Torch
Pliers
Work Gloves
Safety Glasses (just wear these all the time when you are working in your shop)
Vice
Optional Supplies:
Nice enjoyable beer
Steely Dan Playlist with
- Before you do anything, you need to do some homework about your clubs. Ferrules come in different diameters as do shafts. So figure out what the diameter of your shafts are so you can properly buy the correct size ferrules. In addition, try to figure out what the Swing Weight of your clubs is. If you do not have a scale, you can typically find Manufacture information online regarding what the swing weights are. Once you know what your swing weights are, you know (or at least can get an idea) what Tip Weights you will need. (Tip Weights is a whole blog post in itself and I will cover it no further than I just did).
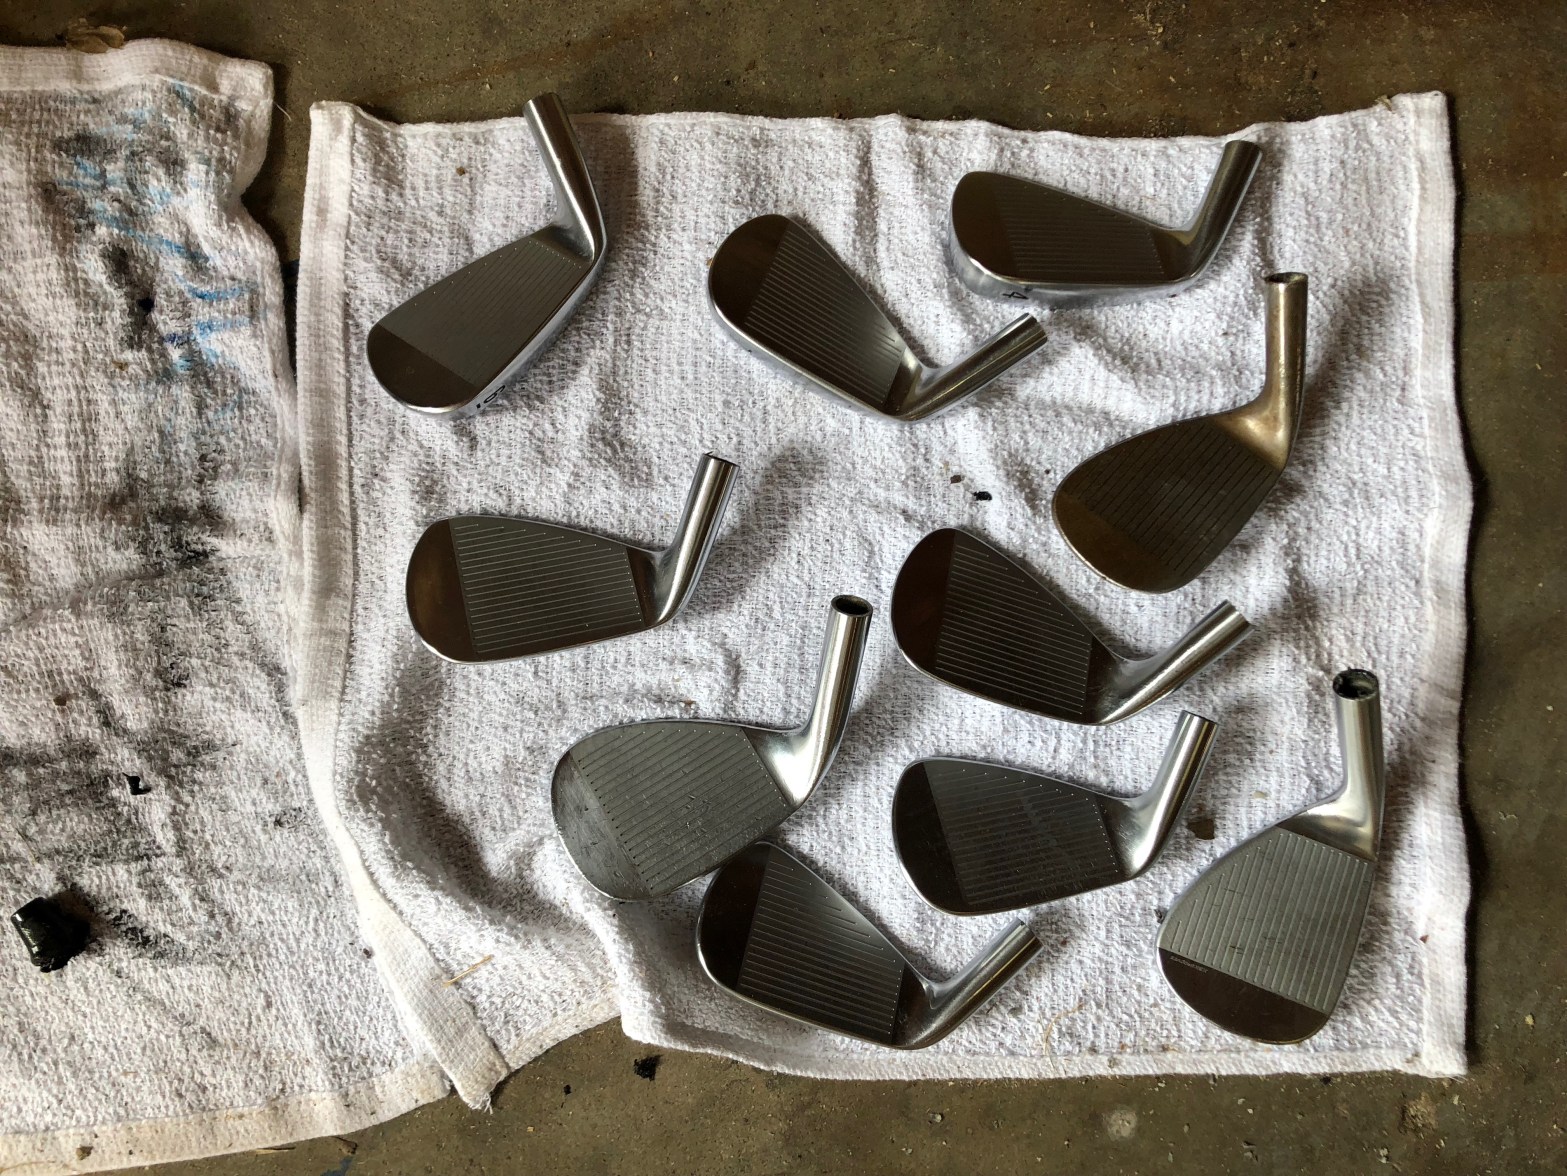
- While wearing safety glasses, put the club into the vice and use the blow torch to heat the heel of your clubs. This is to melt the existing epoxy. Heat the heel a little bit and using a glove (careful it is obviously hot), see if you are able to remove the head. If you are not, repeat until the head slides off of the shaft. Once the head is off, remove the tip weight if there is one. Careful as the head, tip weight and shaft will both be hot.
- Clean the components of the club. Using the drill bit, clean out the head of any debris and old remaining epoxy. Do the same if the shaft, removing anything in the shaft. This is also the part where you want to clear the shaft of any blockage, you should be able to look down the shaft and see light coming through. I replaced my ferrules and grips so seeing light was not an issue. If you are changing ferrules and not your grips, you may need to drill in the top of your grip so that you can see light down the length of the shaft. If you see light, that means there is space for air to move and this will help ensure we are able to make a solid connection when we assemble the club. (SEEING LIGHT THROUGH THE SHAFT IS EXTREMELY IMPORTANT).
- Once you have all of the parts cleaned. Mix your epoxy for application. I always mix mine on a disposable piece of cardboard or some other piece of parchment. Apply epoxy to the inside of the ferrule. The epoxy helps lubricate the ferrule so getting it onto the shaft is made easier. Barely get the ferrule onto the shaft and proceed to step 5.
- Apply the epoxy on the tip weight and the tip of the shaft. Insert the tip weight into the shaft. Generously coat the inside connection of the head of the golf club. Insert the shaft and tip weight into the hosel of the club. Ensure that the shaft is inserted into the head all of the way. I always push down on the shaft with the head with the grip on the ground. That way, I can use my body weight to help ensure the head is pushed on as far as it will go. Use a towel to wipe up any additional epoxy.
- Repeat steps 2 through 5 for as many clubs as you would like.
- Let the clubs cure for over 48 hours. The instructions on your epoxy may read shorter but I error on the side of caution. If we do not let the clubs cure long enough, all our hard work will be undone and we will have to do it all over again. Patience is key.
There it is, a simple 7 step process to replace the ferrules on your clubs. I hope it was informative and if you have any questions, reach out to me on twitter or instagram (@aspoiledwalk). Also send me your new ferrules if you do replace yours, I would love to see the photos. If you like what you read, please consider subscribing to the blog and sharing this article with your friends. It really helps me out. Until next week!
